

If you're looking to create a beautiful and customizable store locator or directory within your Webflow site, the easiest way is with the Storepoint Store Locator App for Webflow. A great example of the customized locator on a Webflow site is the Plucker's Wing Bar store locator (from the showcase: https://webflow.com/website/pluckerswingbar). Below, we'll go over the quick steps for adding a store locator app or directory to your own Webflow site.
Step 1: Create a Storepoint Store Locator Account
The first step is to setup your Storepoint Store Locator account. This is where you will manage or upload your locations and where you can setup all the settings for your store locator / directory. You can signup for an account here: https://storepoint.co/signup
Step 2: Manage, bulk upload or sync your locations
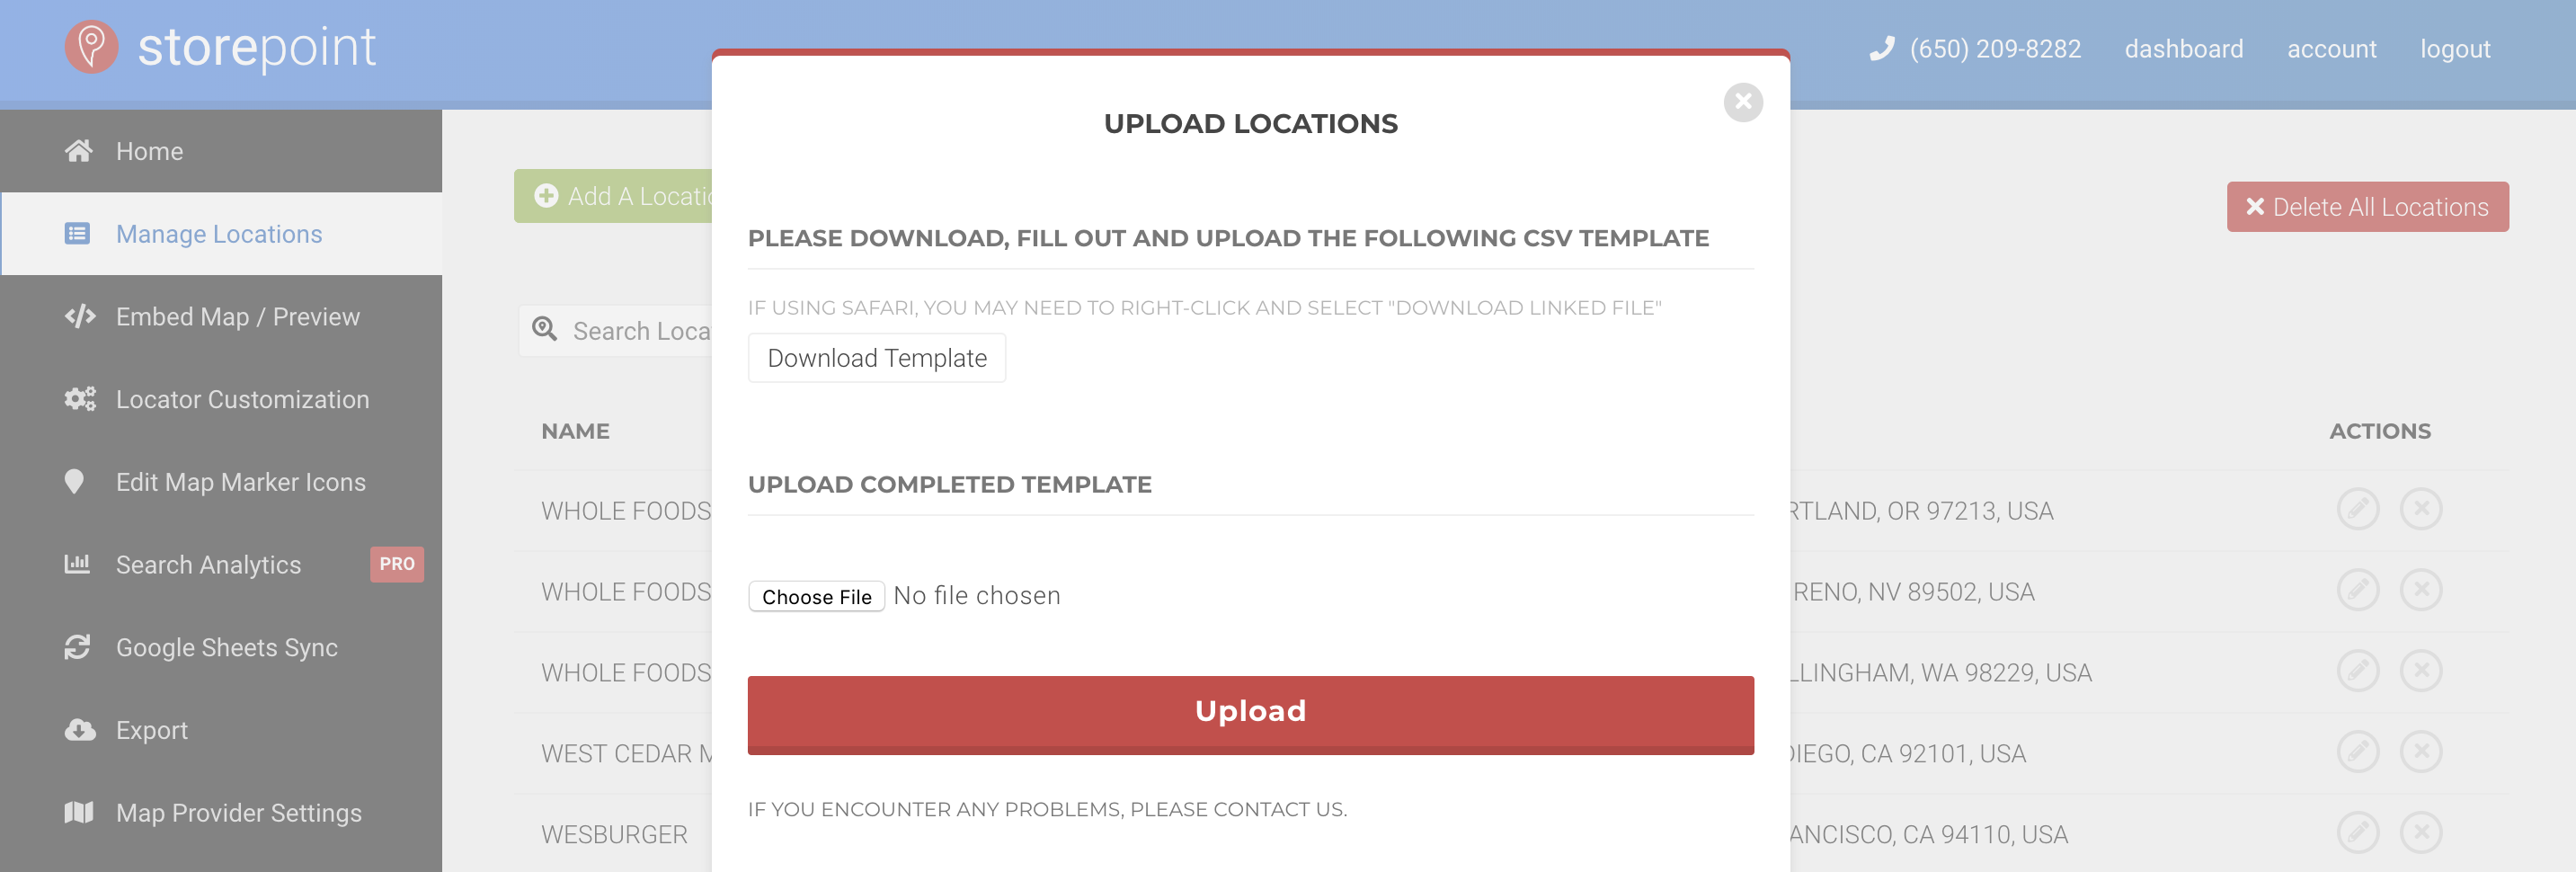
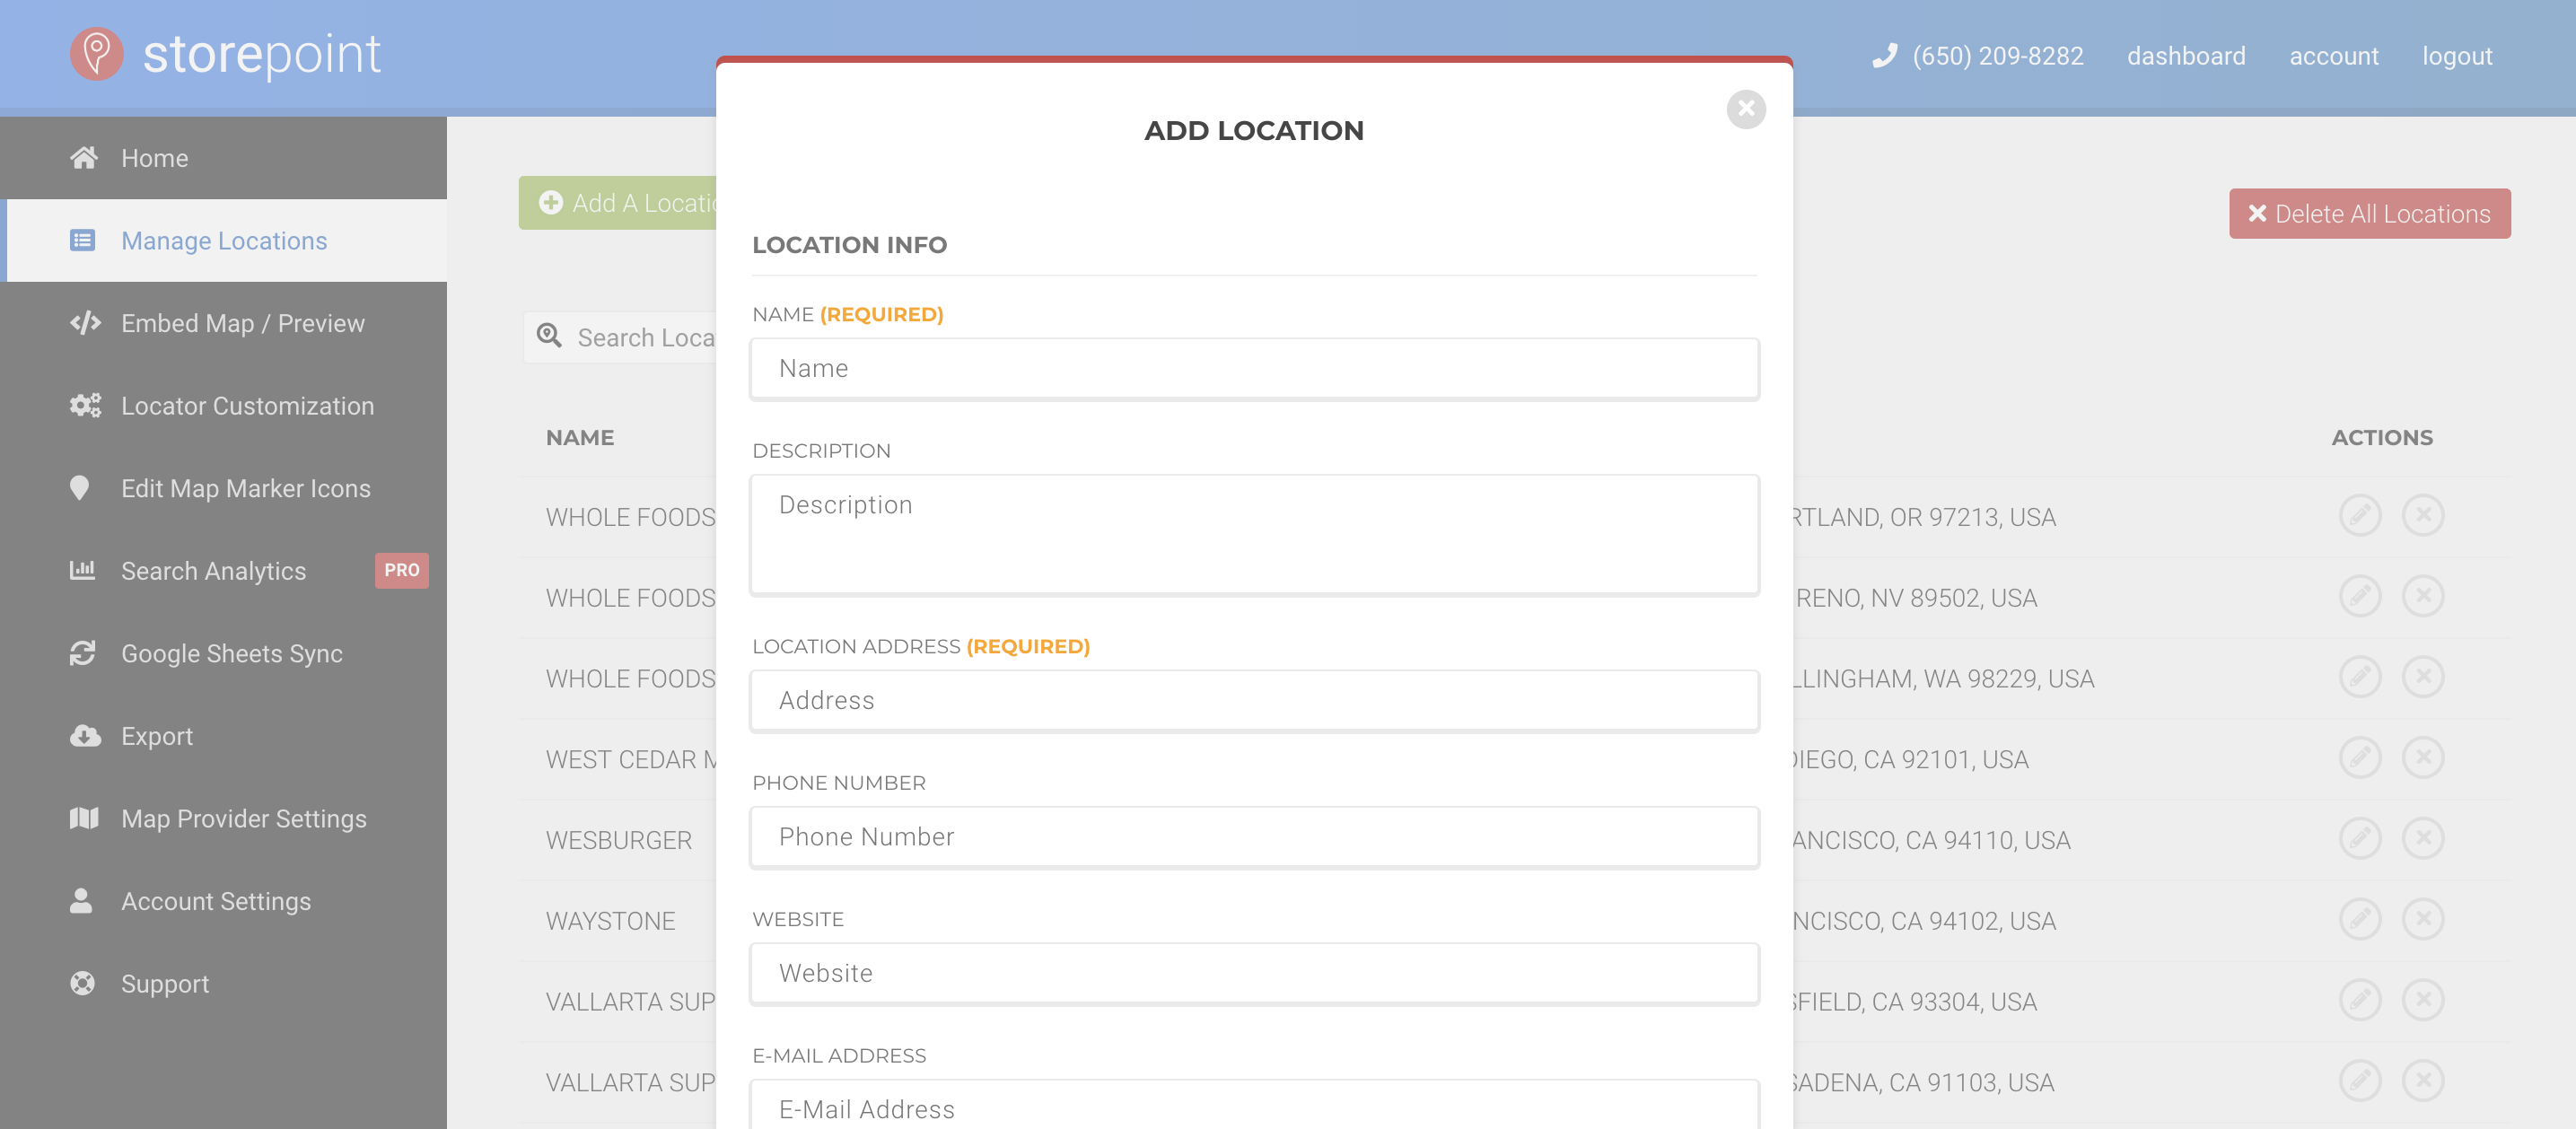
With Storepoint Store Locator for Webflow, you can either bulk upload from a spreadsheet or CSV, add/edit locations individually in the admin panel or sync locations from a Google Sheet. You can also setup categories for the locations, which can then be filtered on the store locator. The interface is setup specifically for managing locations and is a pleasure to use.
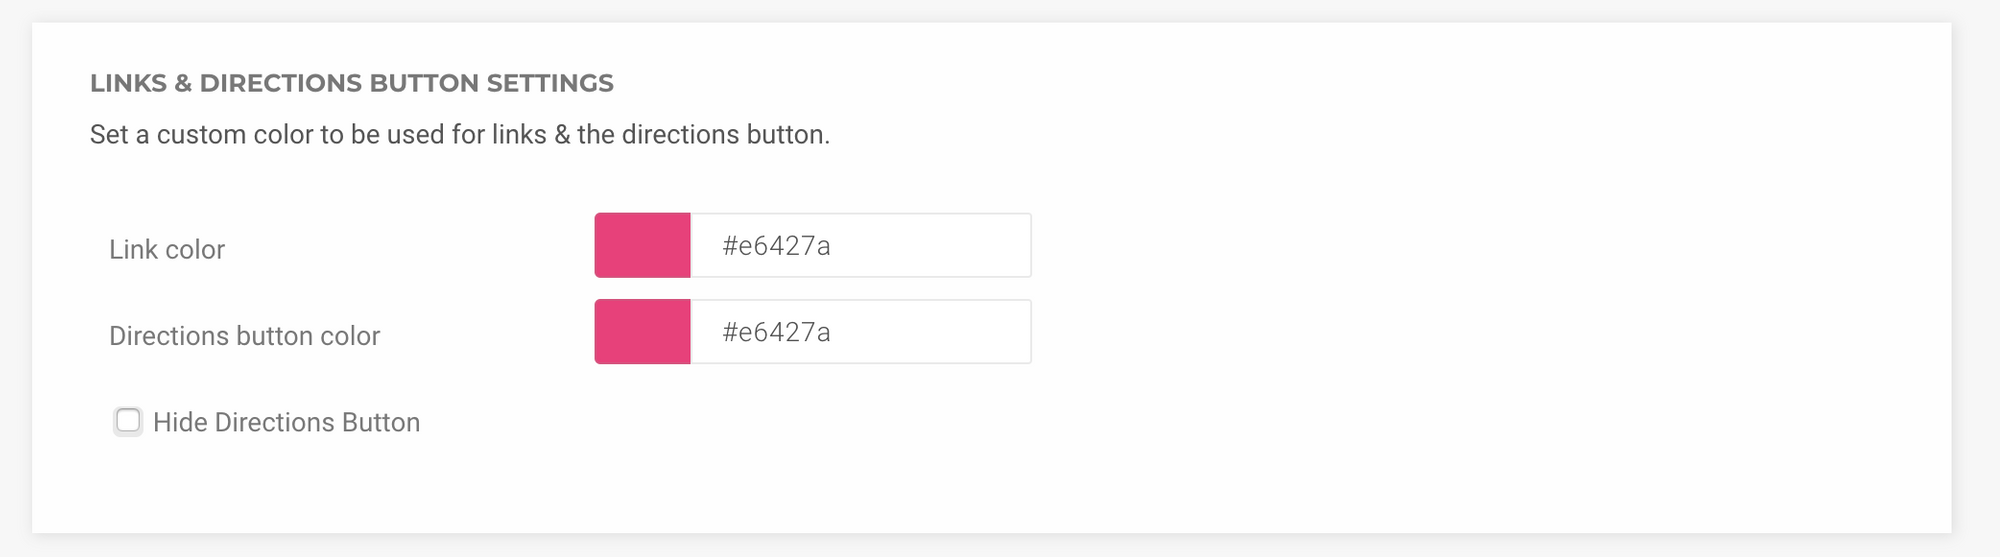
Step 3: Let's pick some basic settings to start
In the "Locator Customization" tab in your store locator account, you can now pick some basic settings for your store locator / directory. Here, you can adjust default radiuses, regional settings (like showing distances in kilometres vs miles) and much much more...
Step 4: Copy your store locator embed snippet
In your Storepoint account, navigate to the "Embed Map" page or click here: https://storepoint.co/dashboard/map
Select and copy the "Embed Snippet" for use in Step 5.

Step 5: Embed the store locator on your Webflow site
- In your Webflow editor, navigate to the page where you'd like to embed the locator and click the "+" (Add) icon in the top left corner of the Webflow editor.
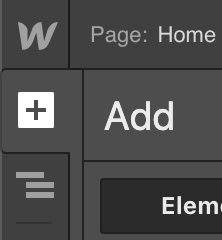
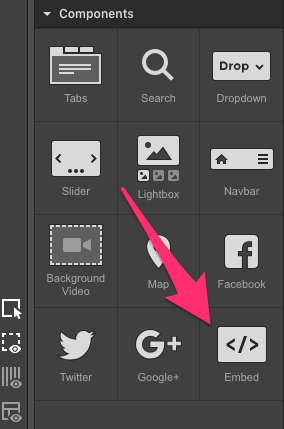
2. Scroll down the list of components and near the very bottom, you'll see an "Embed" component. Simply drag and drop this component into the area of the page where you'd like the locator to display.
3. Paste the "embed snippet" you copied from Storepoint in Step 4 and Save.
4. All done!
Step 6: Questions & Further Customization
Included with all plans, we'll fully customize every detail of the locator to match your Webflow site, theme & branding.
Now that you've embedded the locator, simply send the URL to our team at hello@storepoint.co and we'll customize the entire locator to match your Webflow theme, fonts, colors, branding and any other requests you may have. This service is included free with all our plans and is unique to Storepoint. Take a look at some of our store locator design examples here.
Done :)
If you have any questions or if you're wondering what we can do for your use-case in building a store locator, directory or map for Webflow, contact us and we'll be ready to help: hello@storepoint.co